
Cabinet Painting in Dallas, TX
Four coats, not two. Doors come off, get labeled, and go back where they started. This is the most technical work in the shop and the part we'll happily bore you with.



-
What We Do
Why Cabinet Painting Is a Different Job From Wall Painting
A wall gets touched a few times a year. A cabinet door gets opened several times a day, wiped down with cleaner, splashed with grease, and knocked with a pan handle. Those are not the same surface, and they don't take the same finish.
Most cabinet jobs that fail do so for one of two reasons. The surface wasn't degreased properly, so the coating never bonded to anything but a film of cooking residue. Or wall paint was used, which stays soft and marks the first time a fingernail catches it.
Here the system is specific. Doors, drawers and hinges come off and get labeled so the kitchen reassembles exactly as it was. Everything gets degreased and scuff sanded. Then two coats of Centurion 1111 primer with 5% hardener, sanded and cleaned between coats, dents and imperfections repaired, a final scuff sand, and two coats of Centurion 2800 series with 15% hardener on top.
The hardener matters. It's what turns a coating into a finish that survives a kitchen. Four coats, each with a purpose, is why this takes longer than a homeowner expects and why it lasts.
What Comes With a Cabinet Refinishing Job
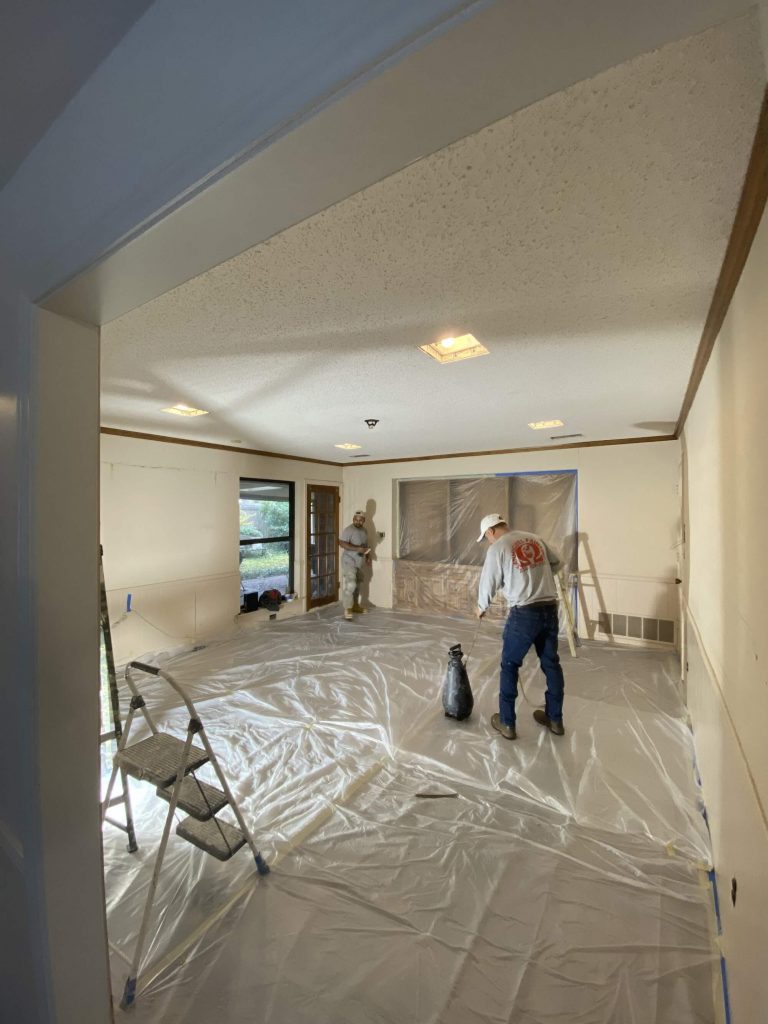
- Work area masked and contained before anything starts
- Doors, drawers and hinges removed and labeled
- All surfaces degreased, then scuff sanded
- Full clean after sanding
- Two coats of Centurion 1111 primer with 5% hardener
- Sanding and cleaning between primer coats
- Repair of dents and surface imperfections
- Final scuff sand before topcoat
- Two coats of Centurion 2800 series with 15% hardener
- Reassembly with every door and hinge returned to its original position
- Final walkthrough with Jose and touch-ups
Not offered: cabinet refacing, door replacement, and new cabinet construction. If your boxes have failed rather than aged, refinishing is the wrong answer and you'll be told that during the estimate.
The Four-Coat Sequence, Step by Step
Five steps, start to finish. No surprises in the middle, and no disappearing act at the end.
1. Contain and disassemble
The work area gets masked and contained, because sanding dust travels and a kitchen connects to everything. Doors, drawers and hinges come off and get labeled as they go.
2. Degrease, then sand
Degreasing comes first and it is not optional. Kitchen grease is invisible and it's the reason most cabinet finishes fail. Scuff sanding follows, giving the primer a surface to key into, then everything gets cleaned again.
3. Prime twice
Two coats of Centurion 1111 with 5% hardener, with sanding and cleaning between them. Dents and imperfections get repaired at this stage, while there's still a coat to bury the repair under.
4. Final sand, then topcoat twice
A last scuff sand, then two coats of Centurion 2800 series with 15% hardener.
3-year workmanship warranty
Family owned, father and son
Five stars across hundreds of reviews
5. Reassemble and walk it
Everything returns to its original position. You and Jose go through the kitchen together and mark anything needing attention.
-
The Portfolio
Refinished Kitchens Around Dallas County
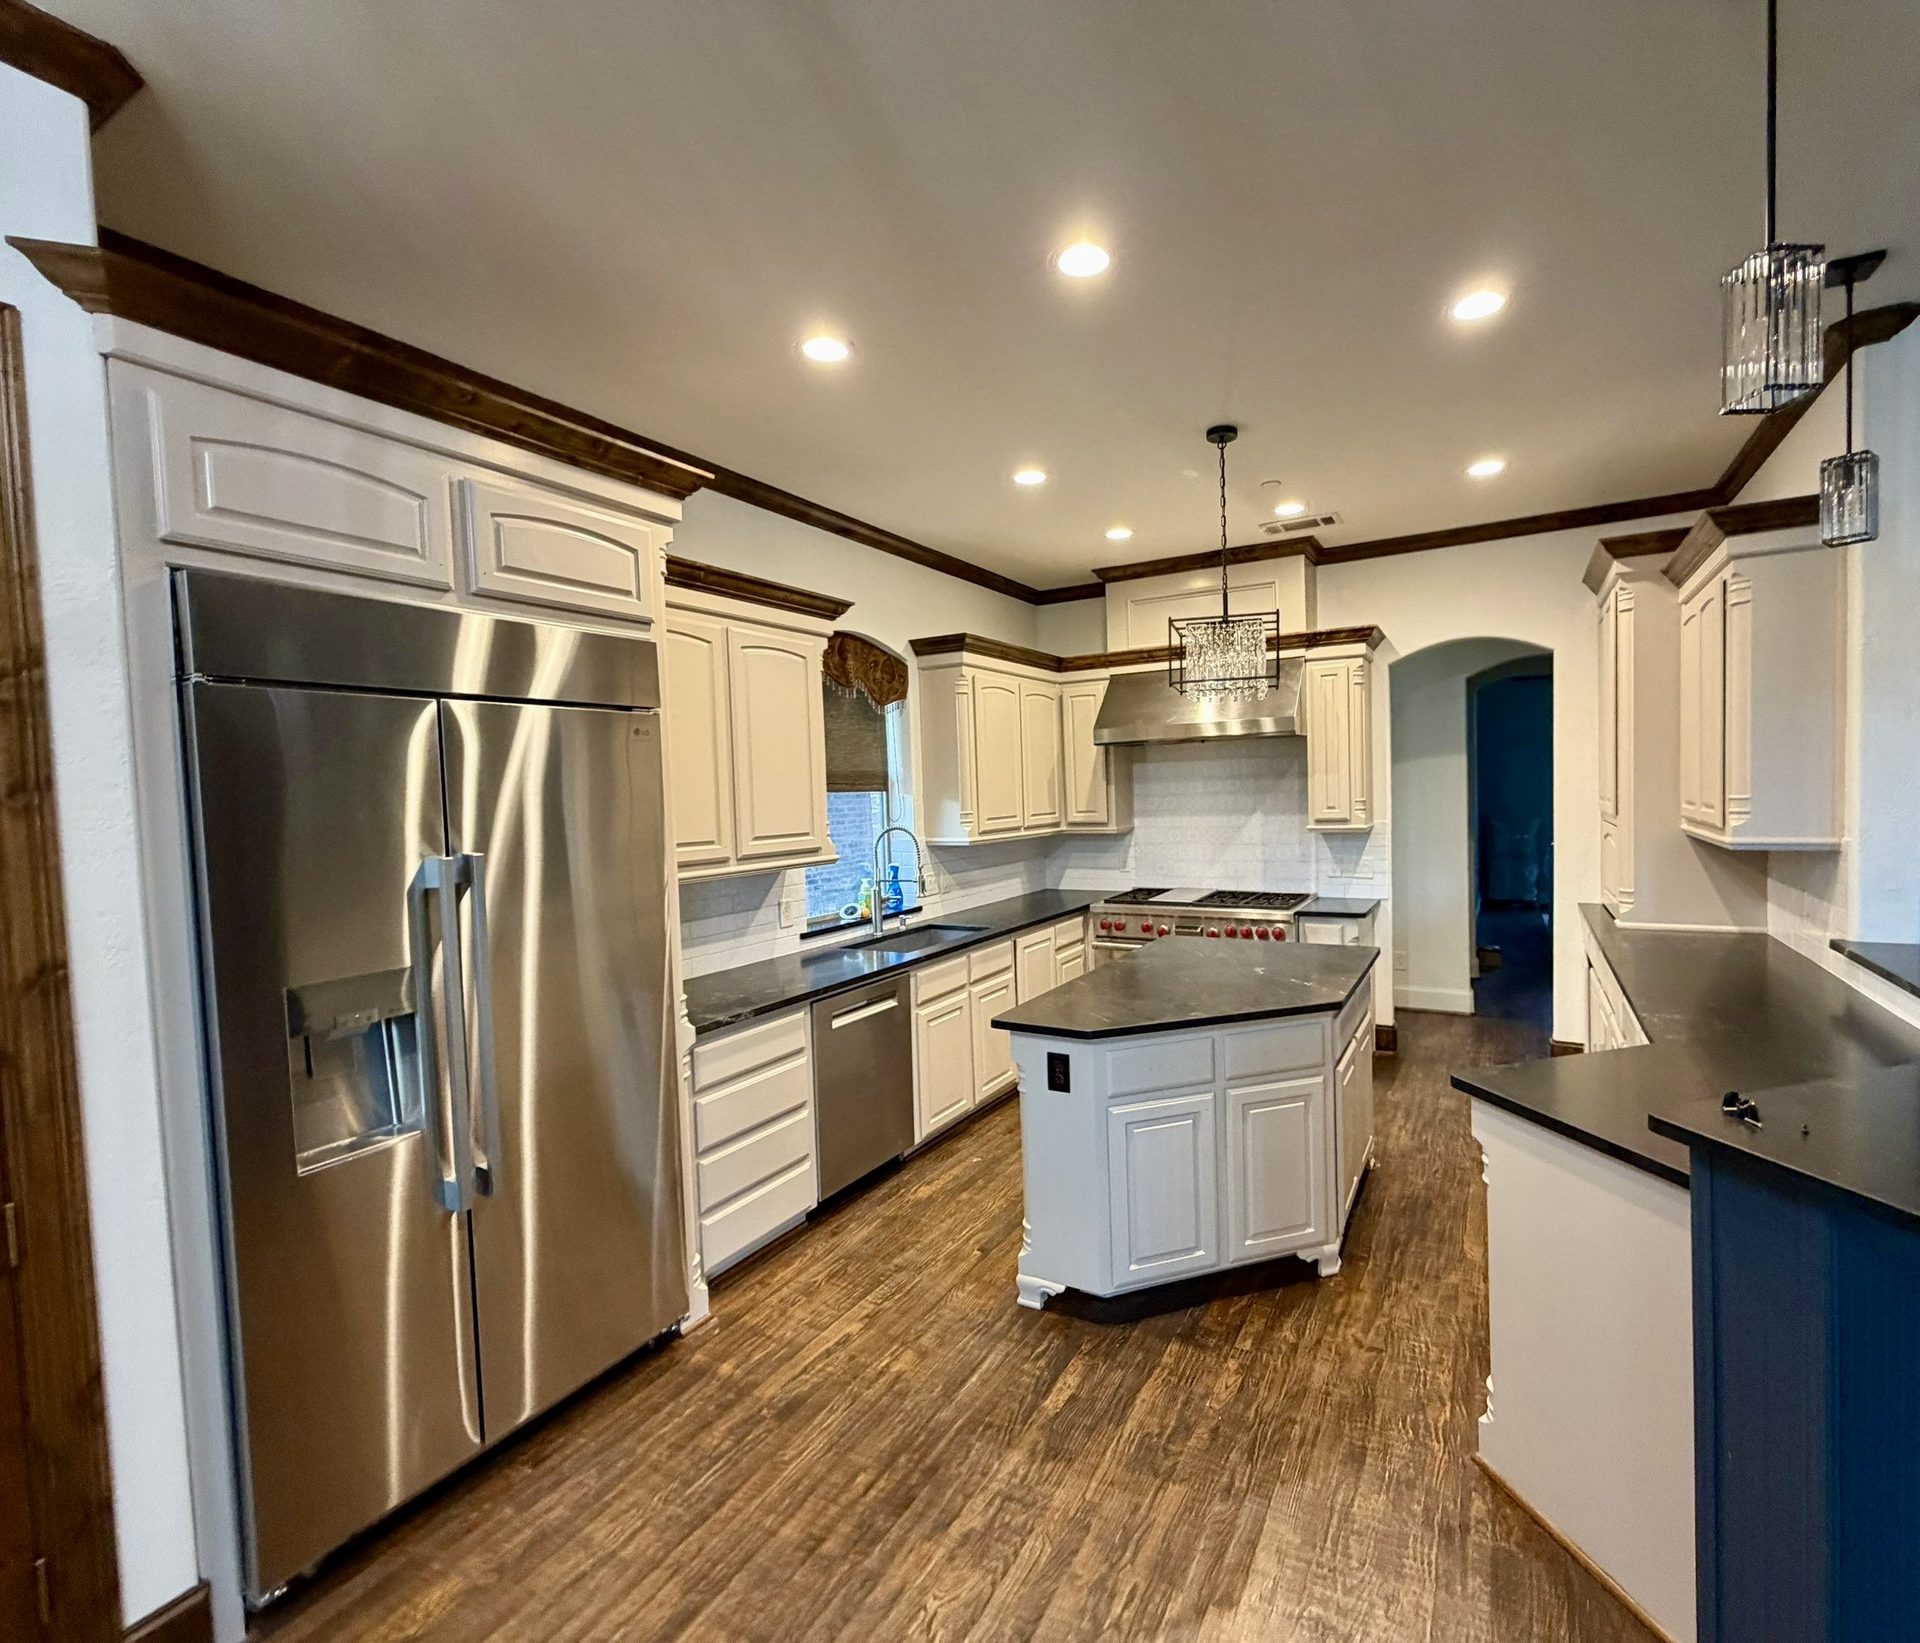
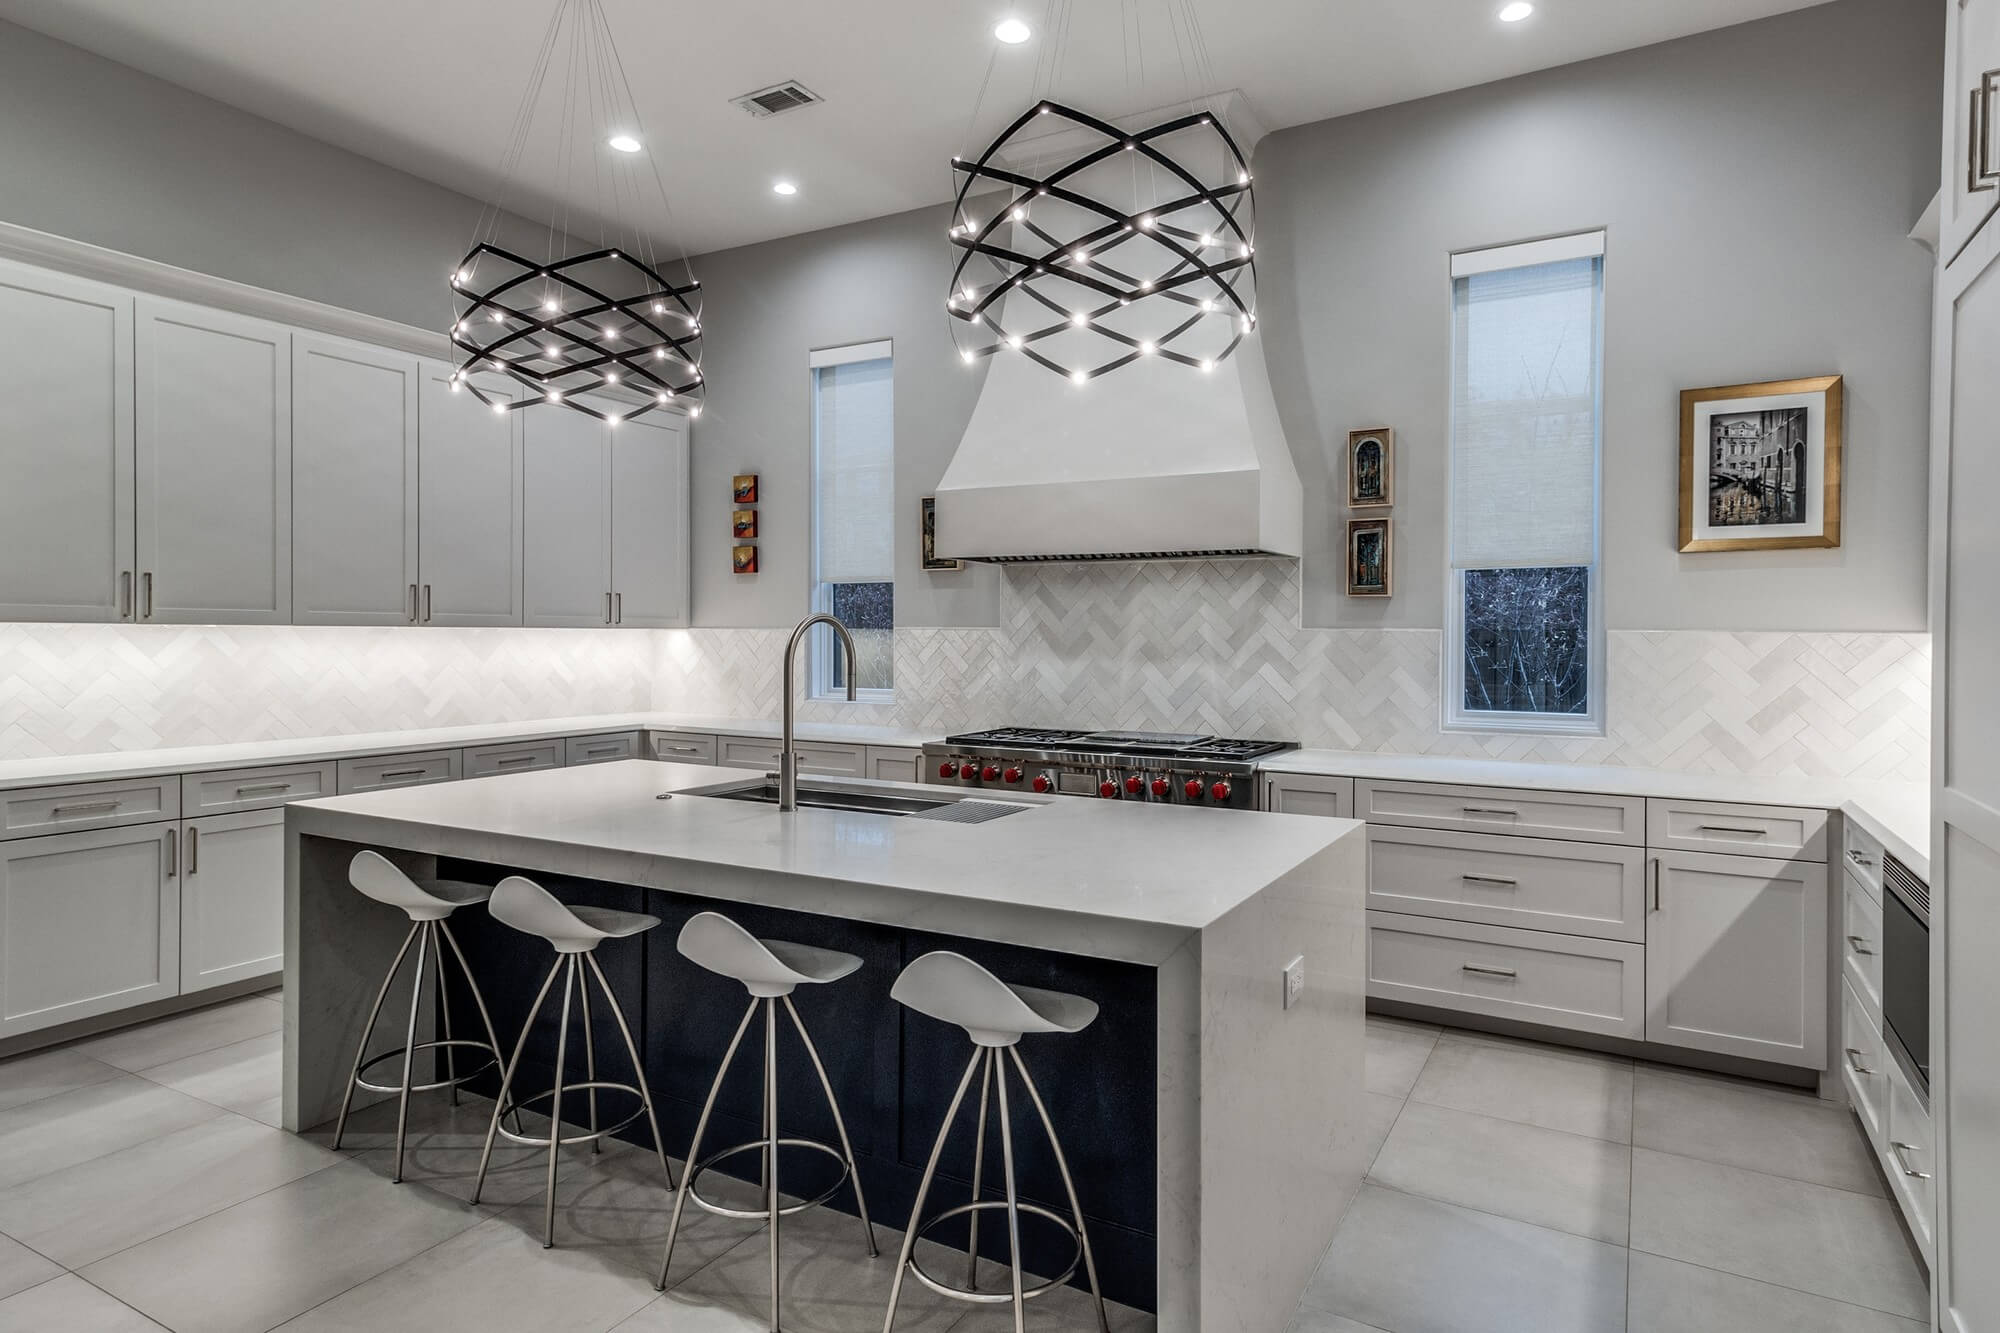
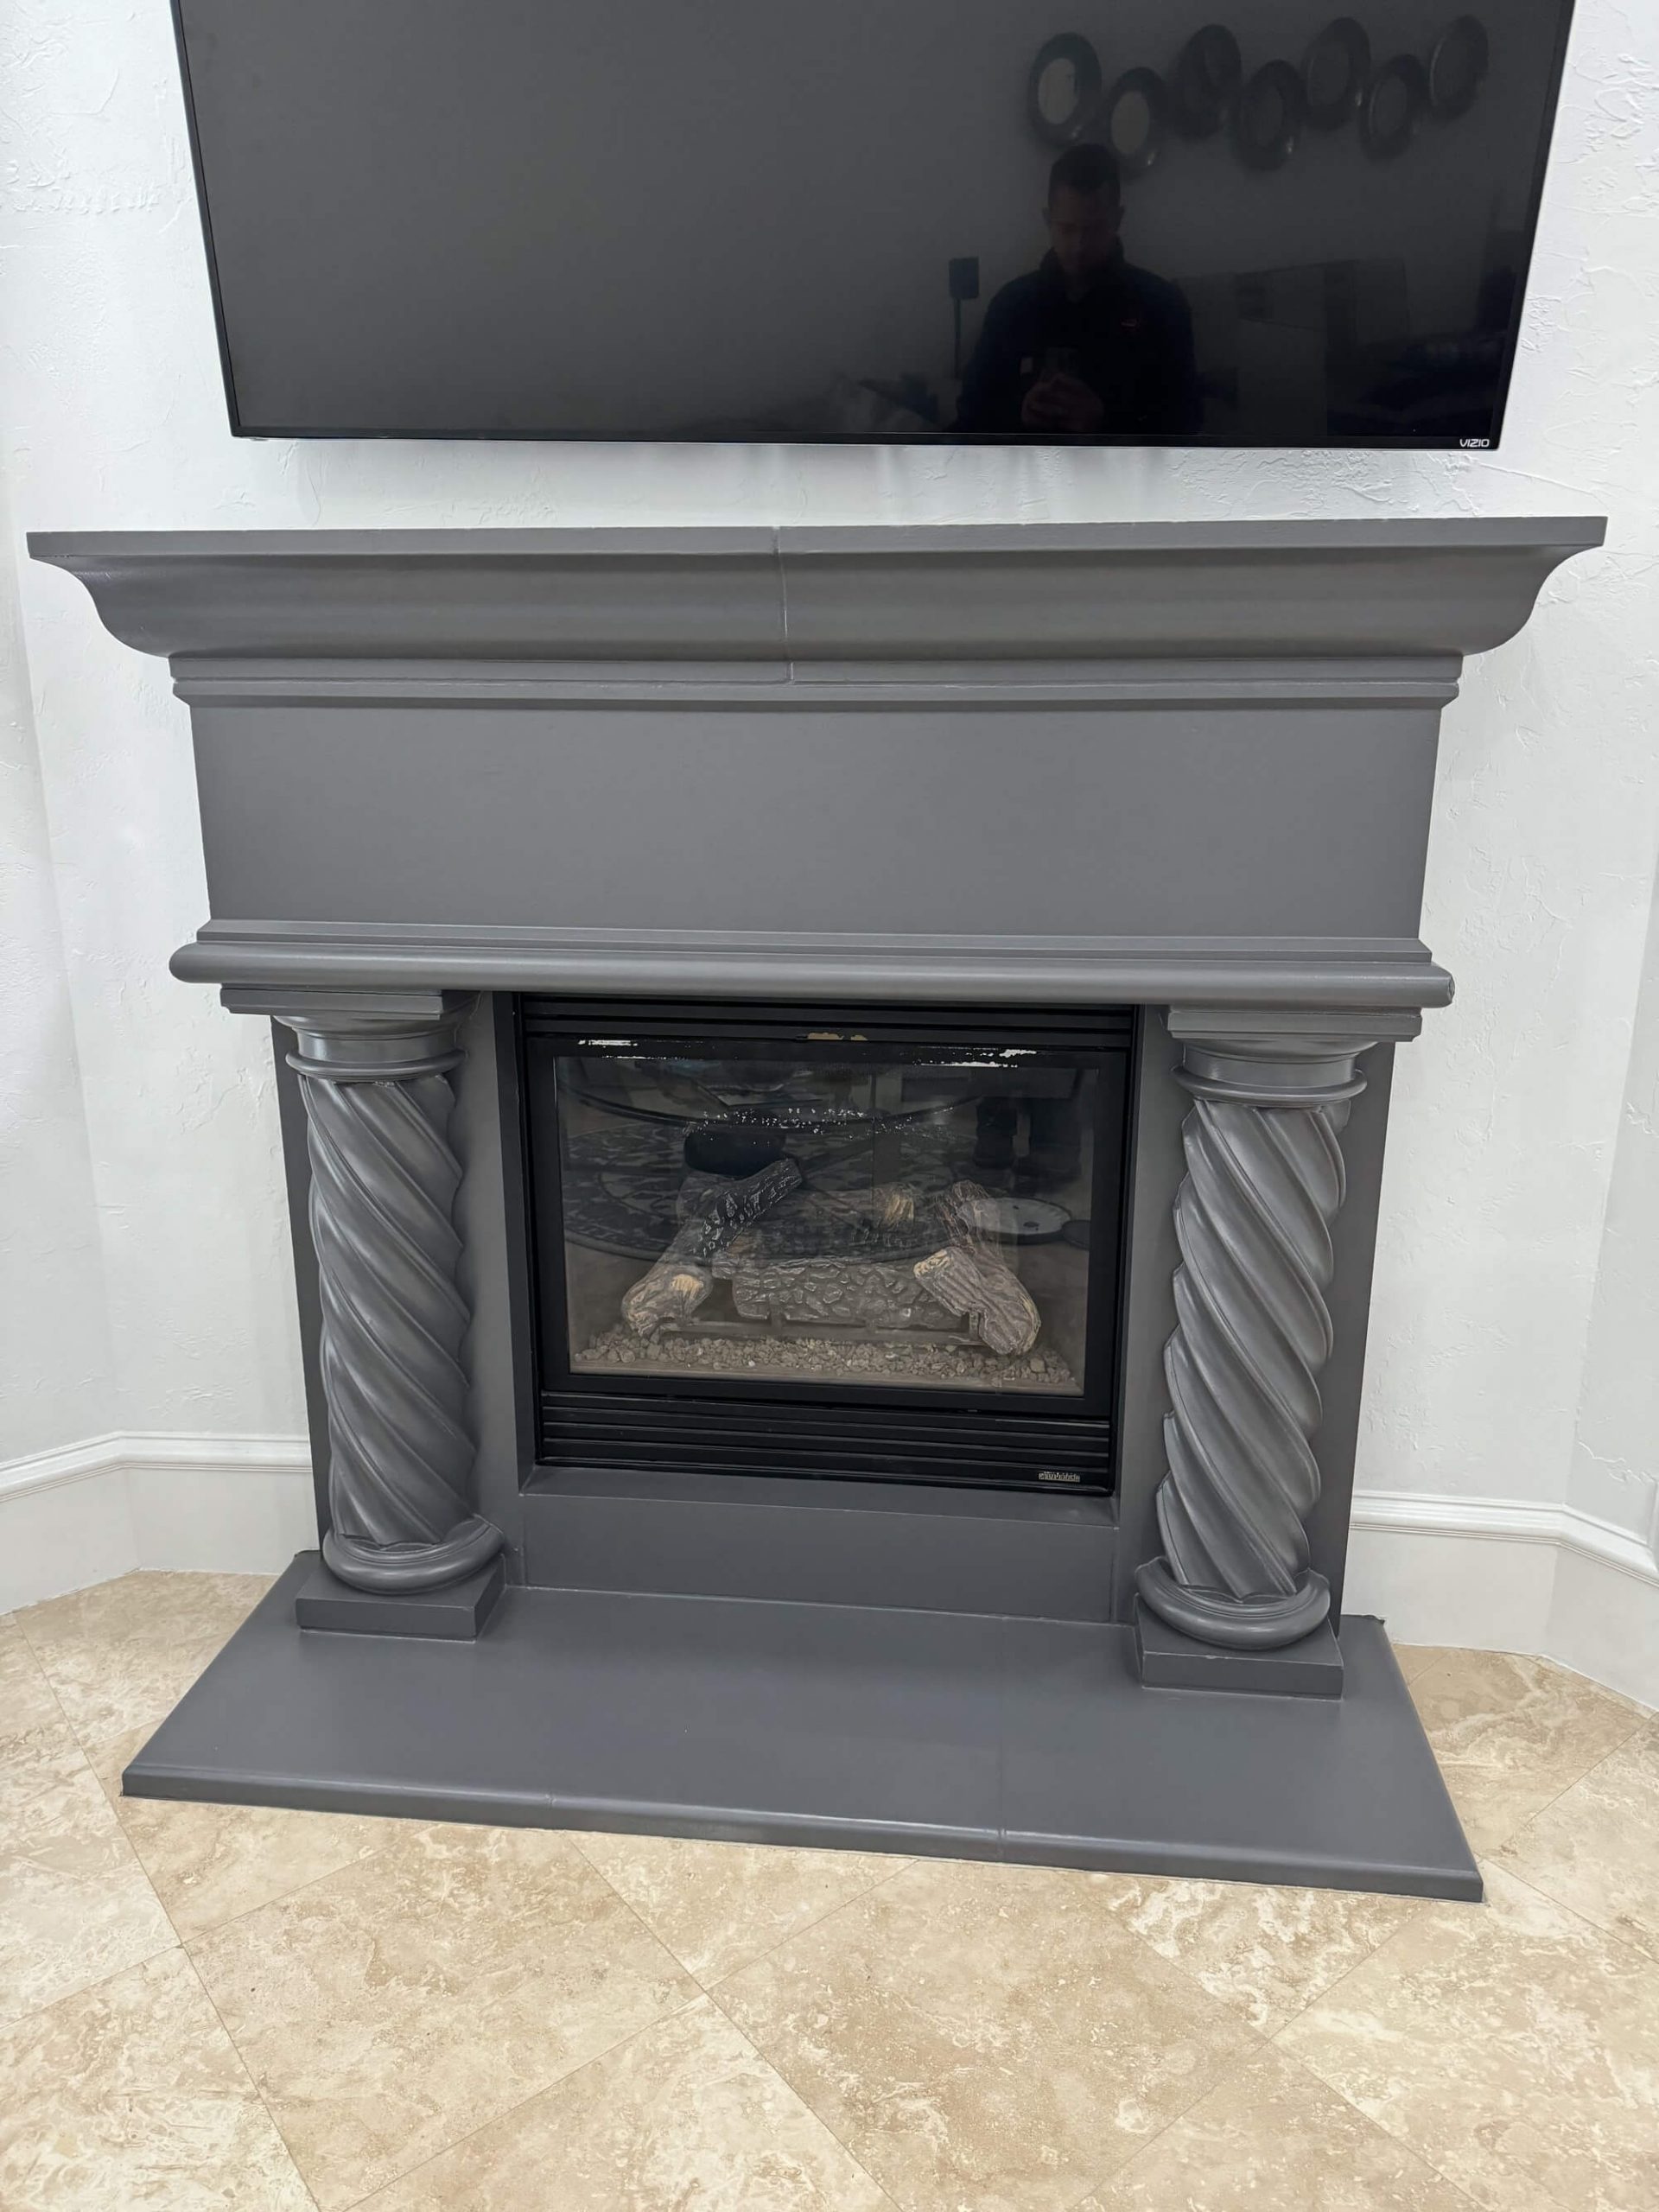
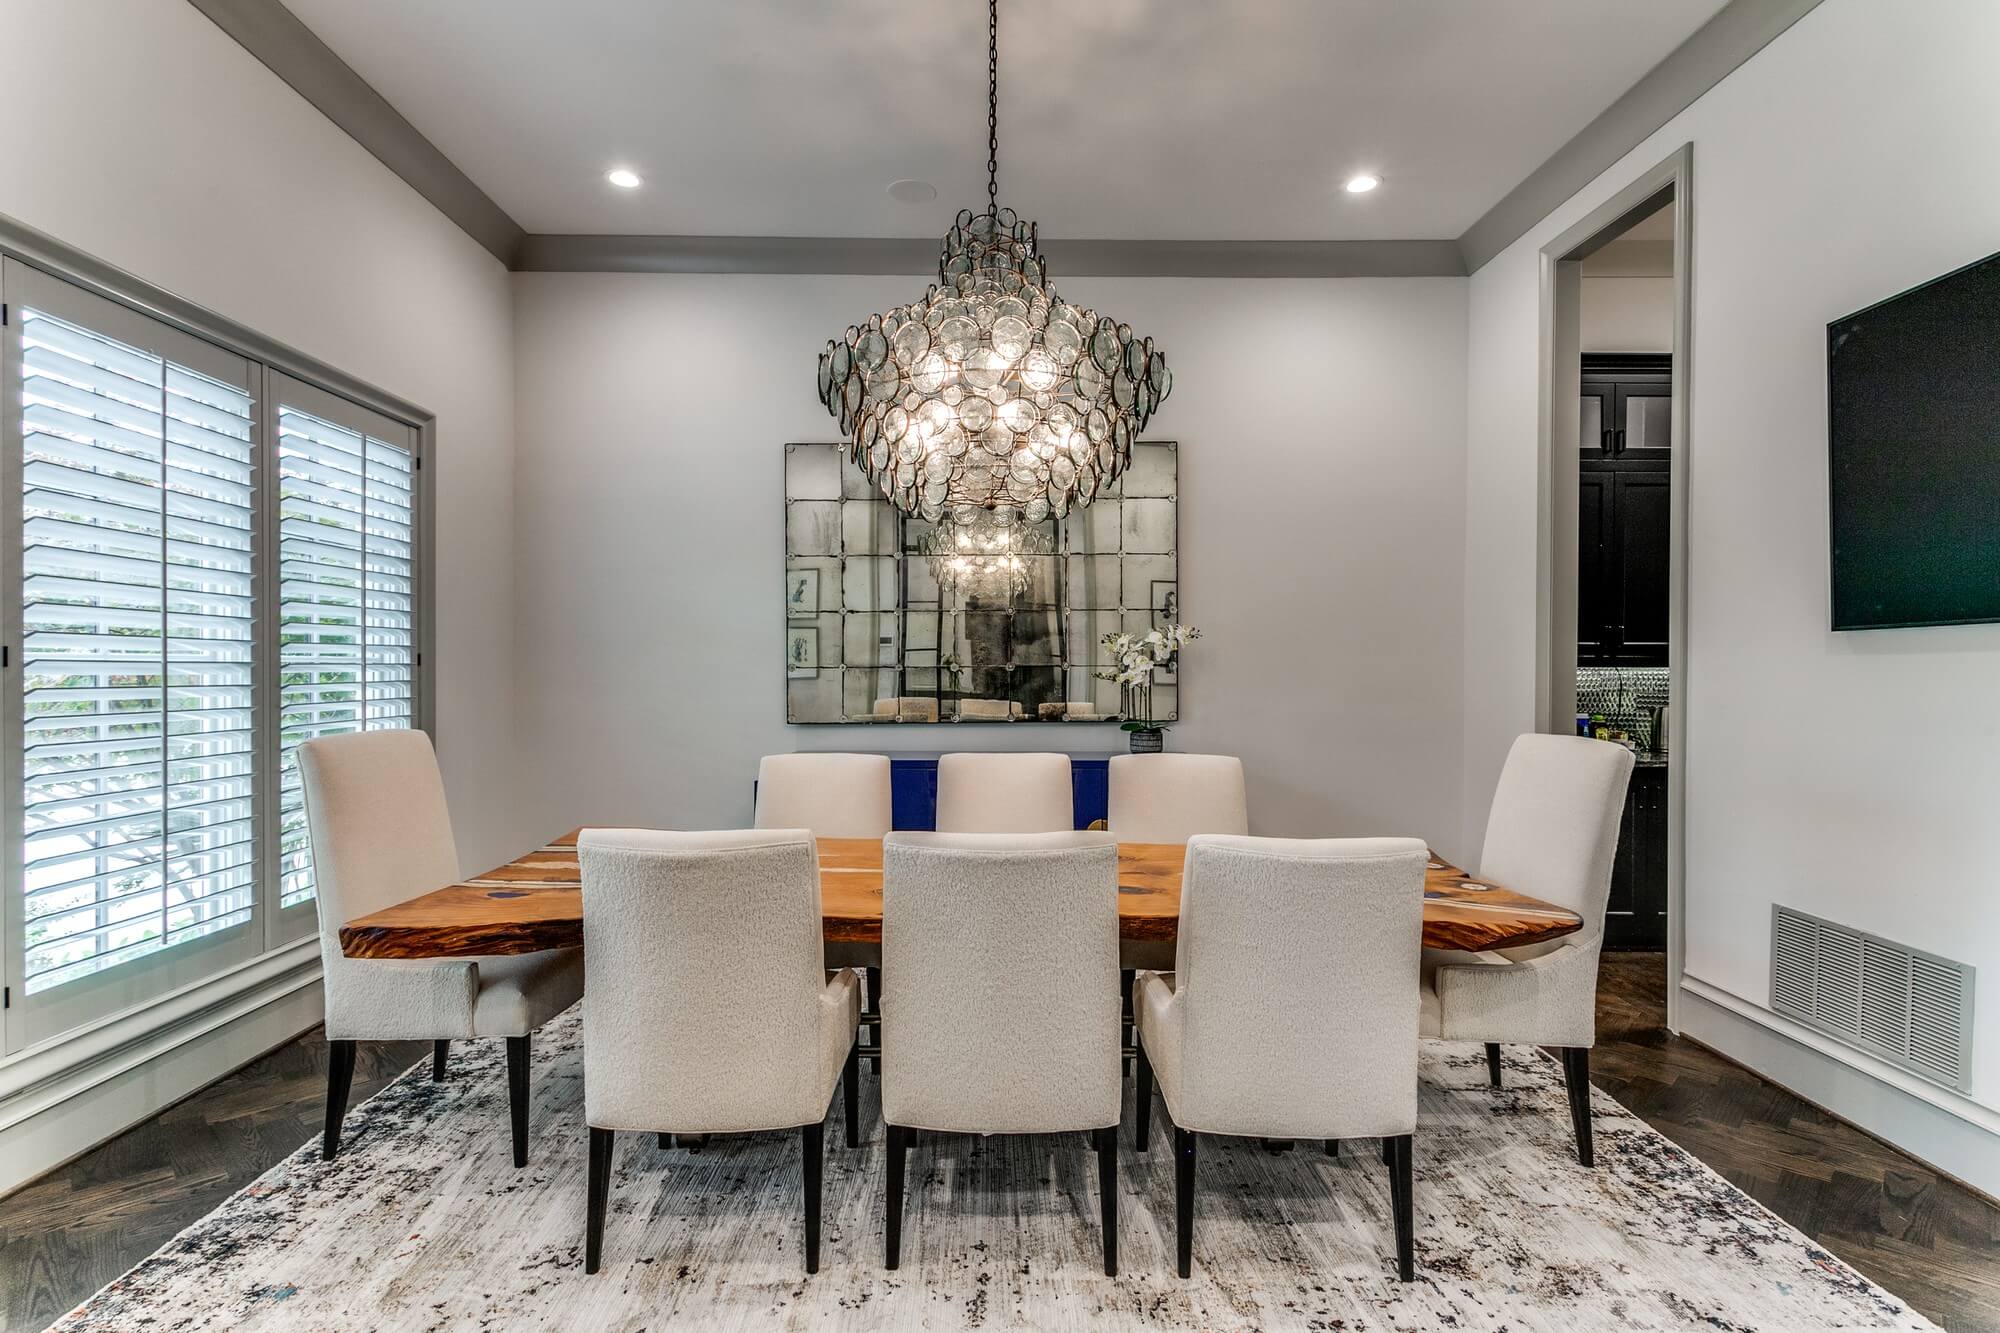
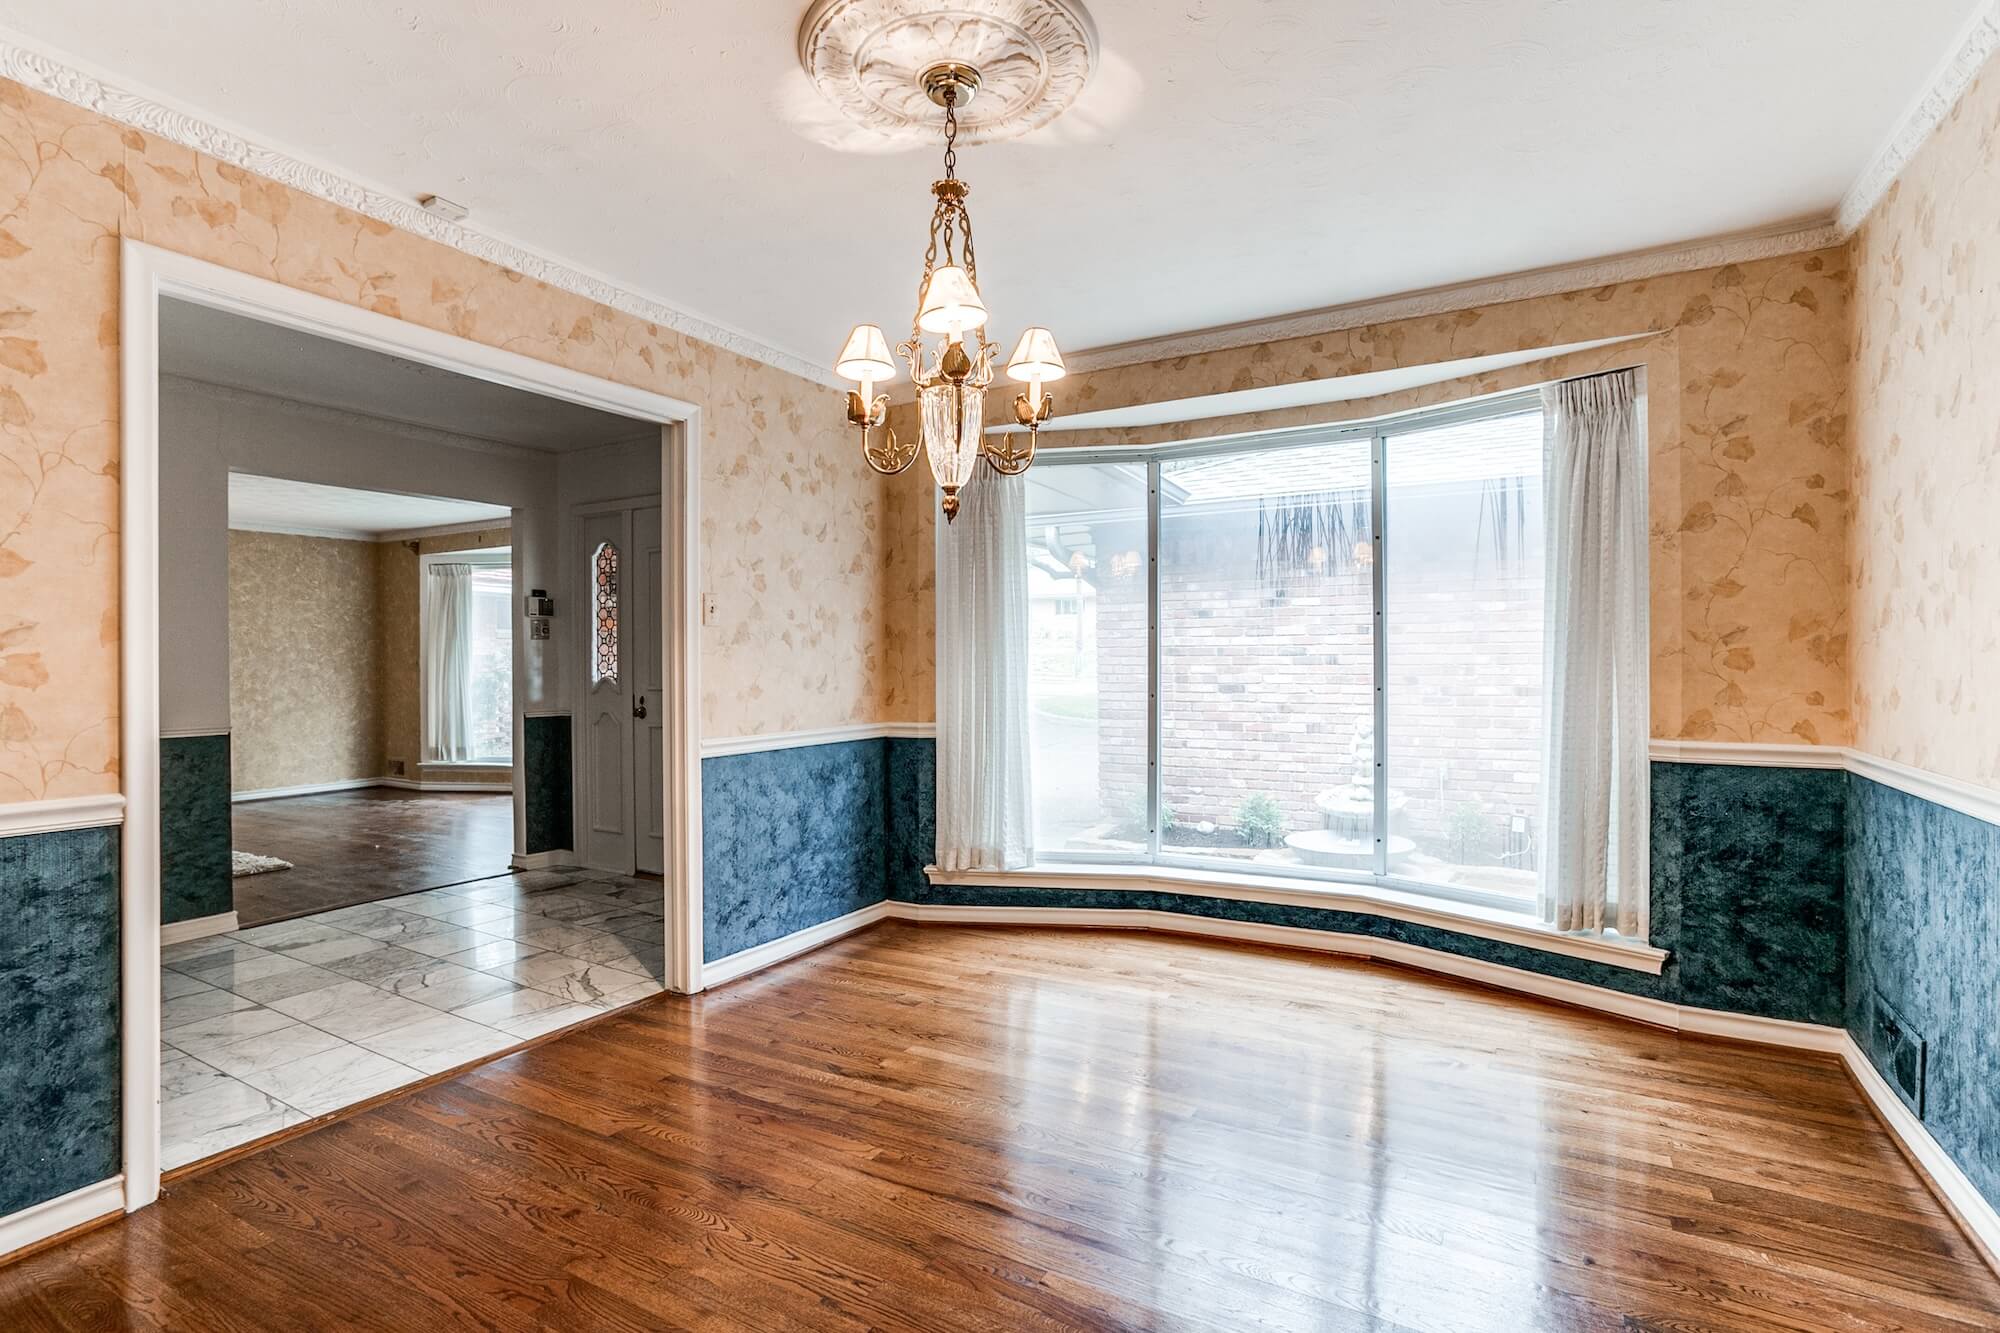
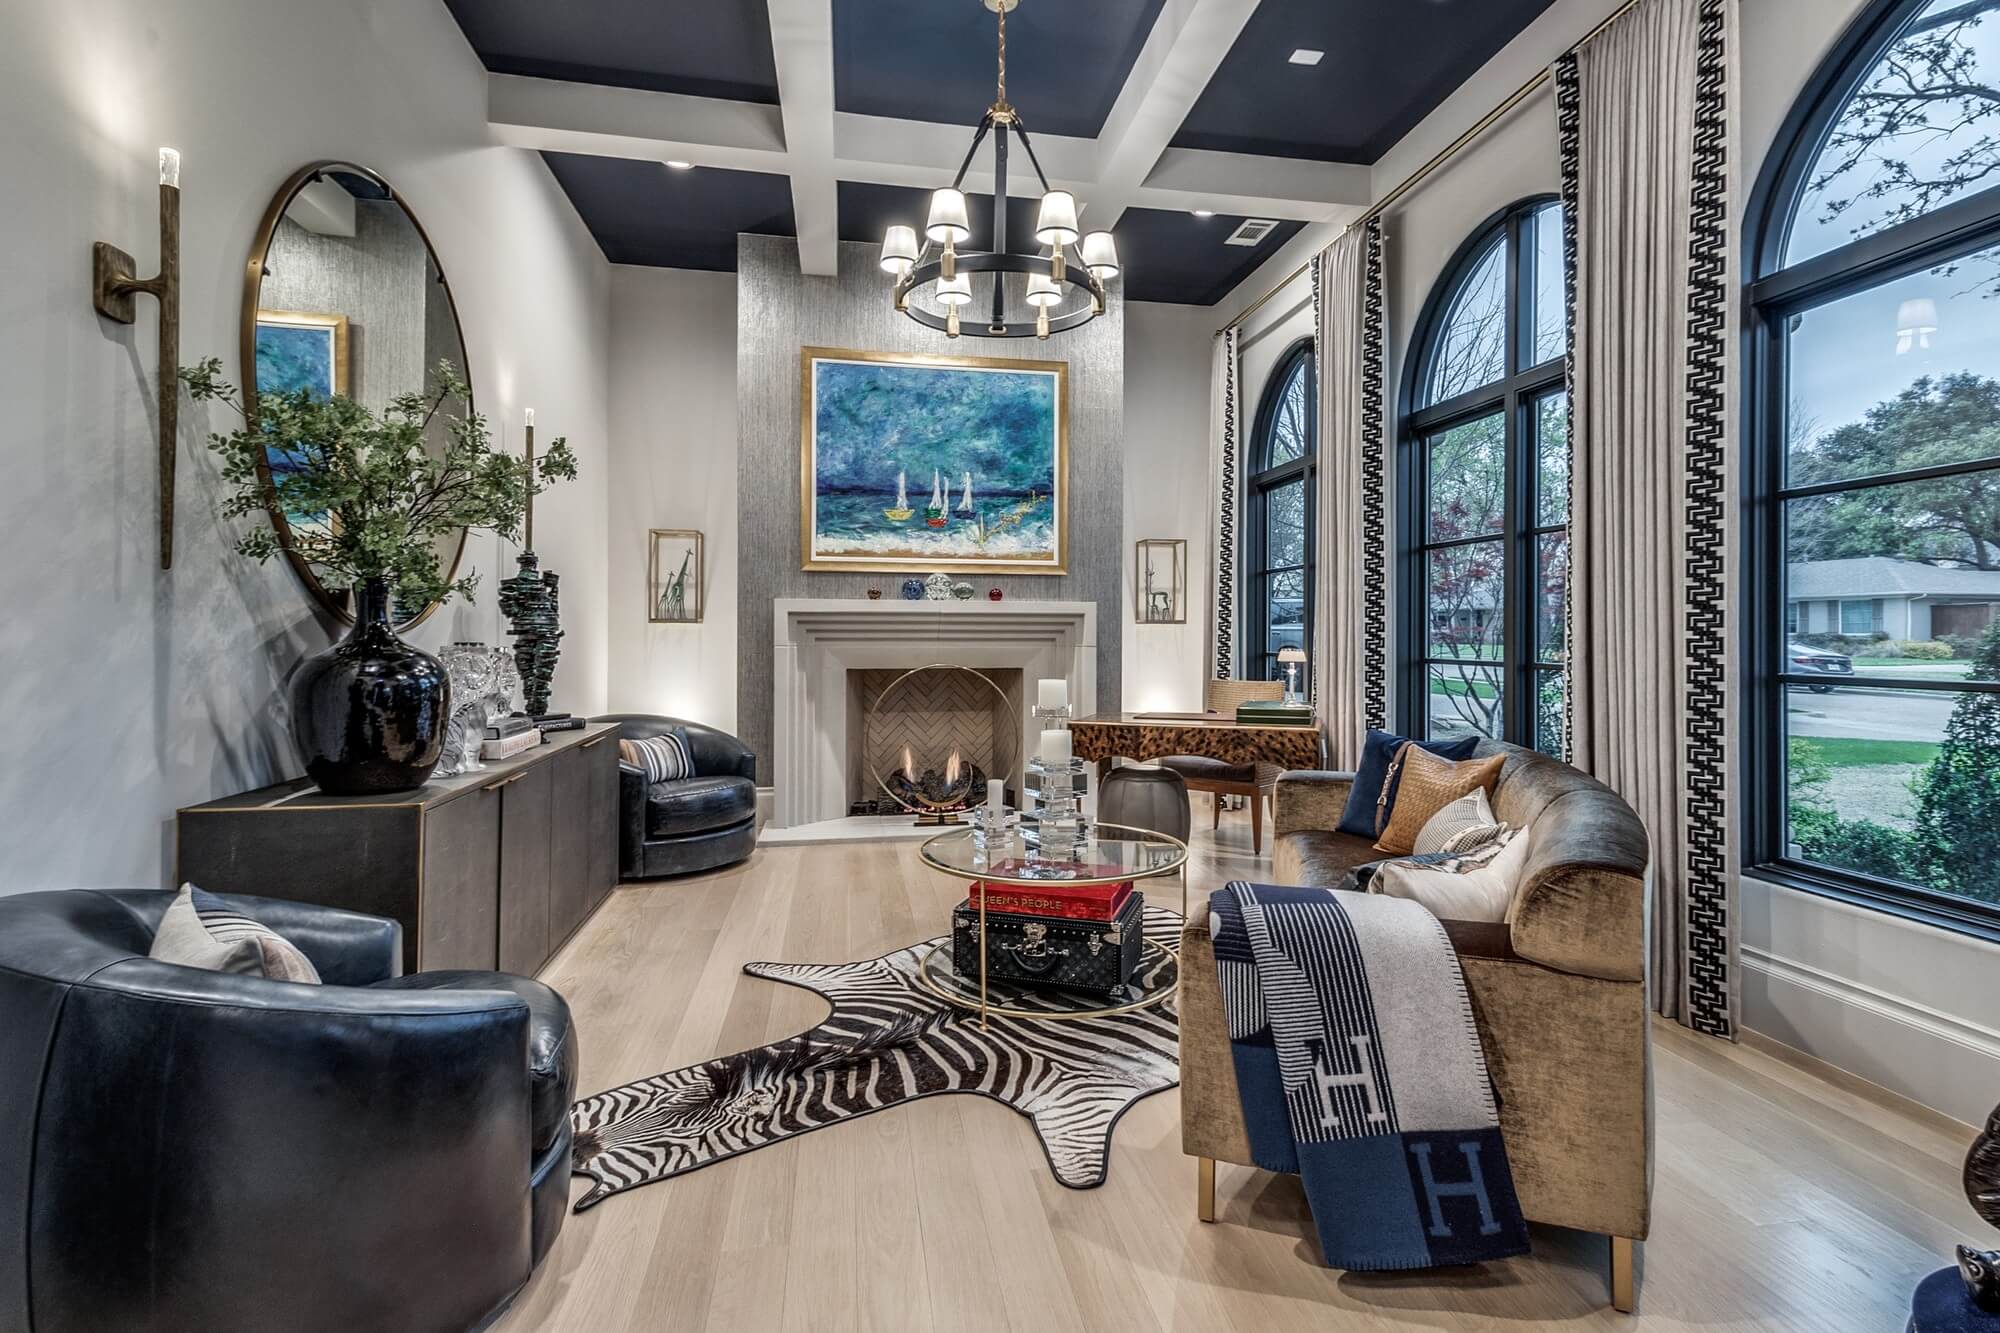
Before-and-afters are dramatic on cabinets in a way they rarely are on walls. Look at the door edges and the inside faces, since that's where a rushed job gives itself away.
-
Often Booked Together
Services That Pair With Cabinet Refinishing
Interior Painting
The standard pairing. Refinished cabinets against tired walls only move the problem, and the crew is already set up inside.
Exterior painting
Commonly priced at the same visit when a house is being prepared for sale.
Fence and deck staining
Frequently added when a house is being prepared for sale.